Miner’s Haven Setup Ideas for Roblox
Miner’s Haven is all about building an efficient production line that turns ores into valuable resources. As you progress, your setup becomes more important because better placement, faster conveyors, stronger upgraders and smart looping can greatly improve your rebirth speed.
There is no single perfect setup for every player. The best design depends on your current life, available items, furnace, upgraders and whether your goal is making cash or rebirthing quickly.

1. Basic Beginner Setup
A beginner setup should be simple, compact and easy to understand. Start with a mine, a short conveyor line, a few basic upgraders and your best available furnace.
A simple layout can look like this:
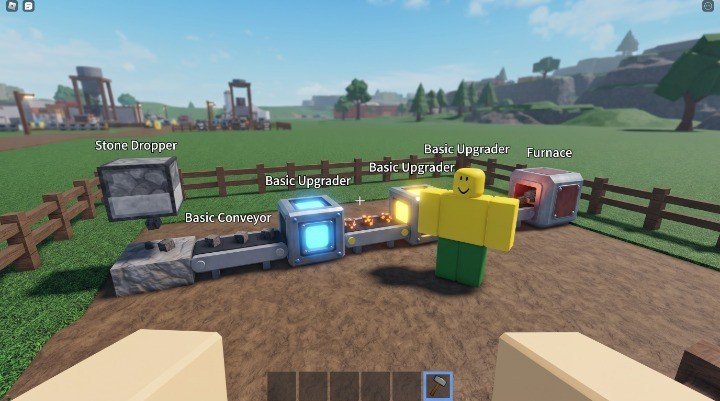
Mine → Conveyor → Upgrader Line → Furnace
Avoid filling your base with too many low-value items. A shorter setup is usually easier to manage and gives ores less time to get stuck.
Focus on:
- Using your best affordable mine
- Keeping conveyors straight
- Placing upgraders close together
- Using your strongest furnace
- Leaving enough space for future upgrades
2. Straight-Line Setup
A straight-line setup is one of the easiest designs to build. Ores move through a single line of conveyors and upgraders before reaching the furnace.
This layout works well for beginners because it is easy to inspect and upgrade. It also reduces the number of turns where ores can become misaligned or slow down.
Example:
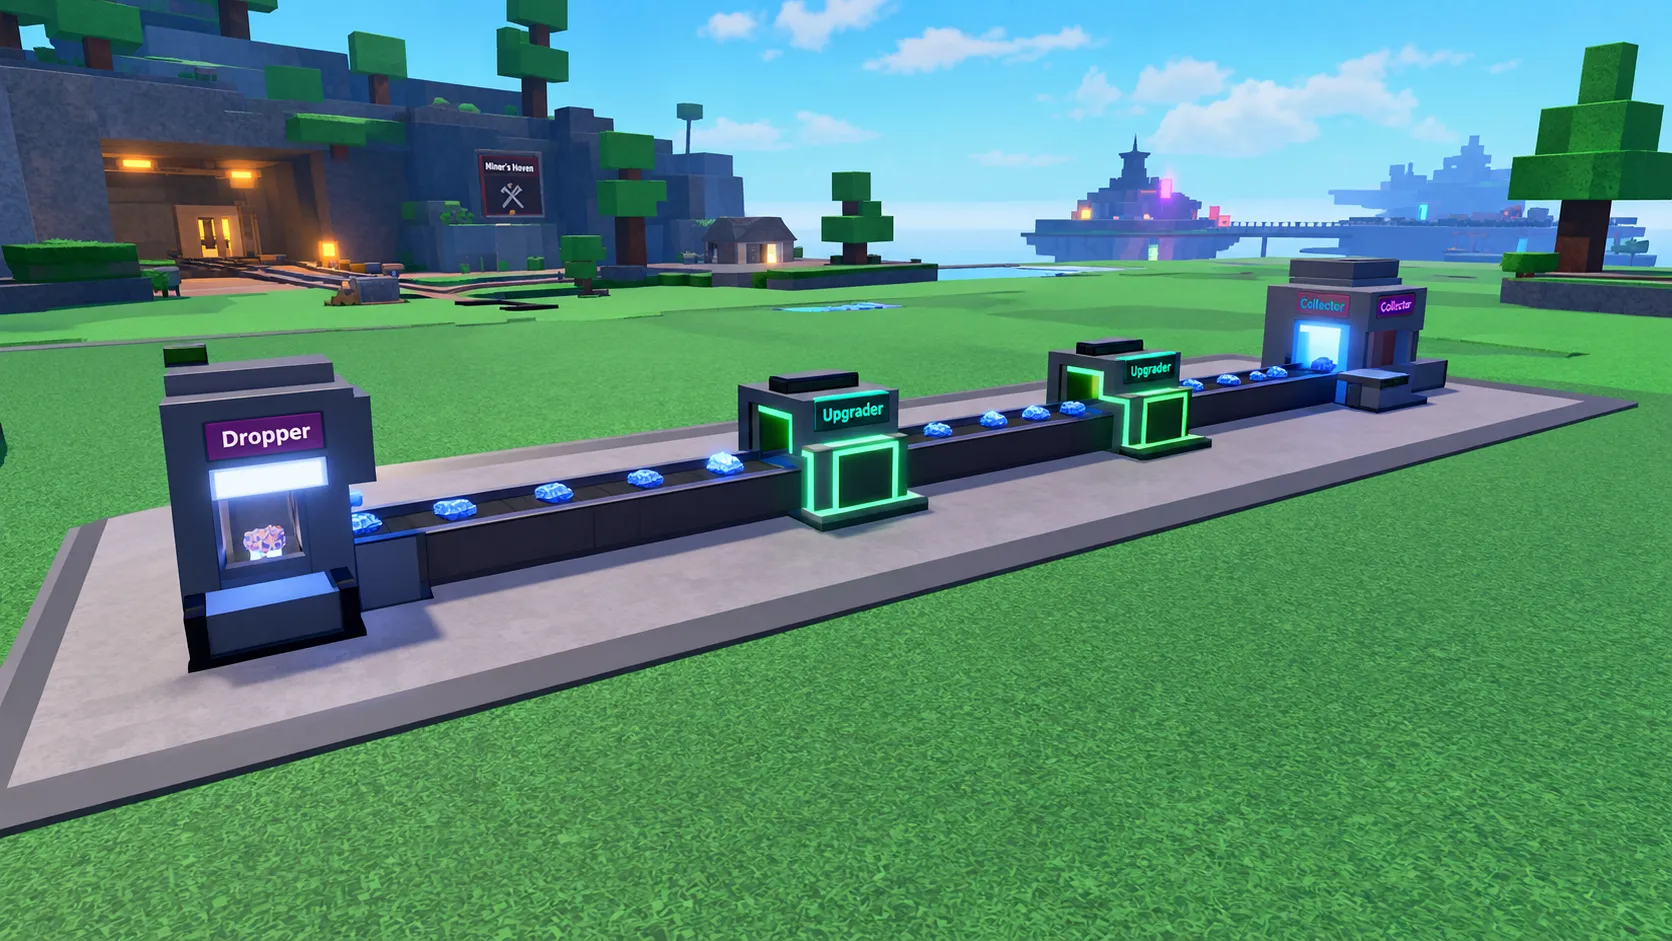
Mine → Basic Upgraders → Multiplier Upgraders → Furnace
Try to place your most useful upgraders in the main path. Remove items that add very little value or take up too much space.
3. Compact Rebirth Setup
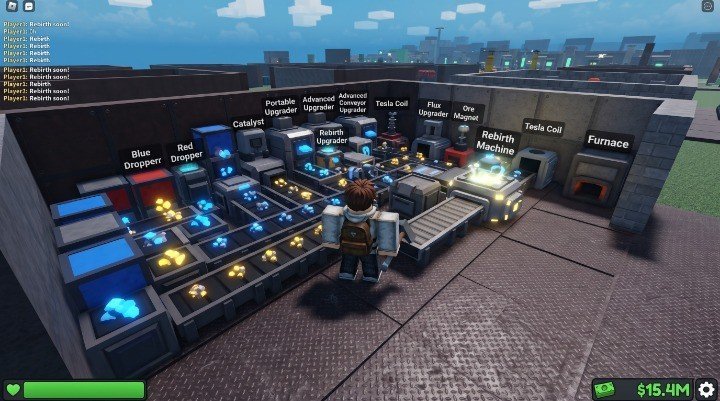
A compact rebirth setup focuses on reaching the required cash amount as quickly as possible instead of using every item in your inventory.
For this type of setup:
- Use only your strongest useful upgraders
- Remove unnecessary conveyor turns
- Keep the route short
- Use a high-value furnace
- Avoid spending too much time on decoration
- Test the setup several times before making major changes
A setup that produces more money per run is not always better if it takes too long to complete. Rebirth speed depends on both ore value and the time required to process each ore.
4. Upgrader Loop Setup
An upgrader loop sends the same ore through one or more upgraders repeatedly. This allows certain upgraders to increase the ore’s value multiple times before the ore leaves the loop.
A basic loop can be arranged like this:
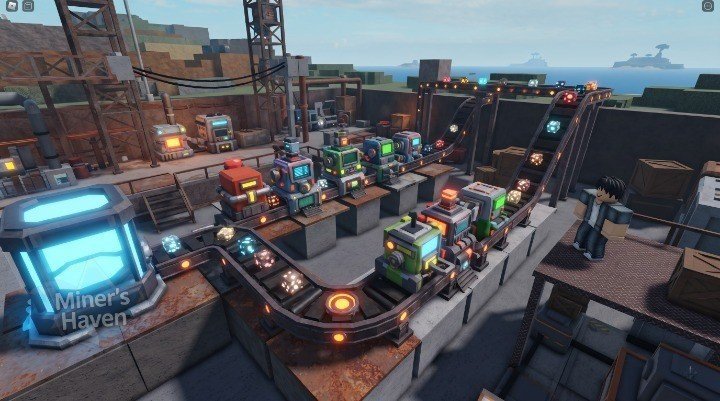
Mine → Upgrader Loop → Multiplier Upgraders → Furnace
Looping is especially useful when you have upgraders that provide strong increases until the ore reaches a specific value limit.
However, the ore must eventually leave the loop. You can use an ore gate, reversible conveyor, teleporter system or another exit method to send the finished ore toward the furnace.
5. Freon-Blast Loop
Freon-Blast Upgraders are commonly used in looping setups because they can repeatedly improve ore value until reaching their effective limit.
A simple concept is:
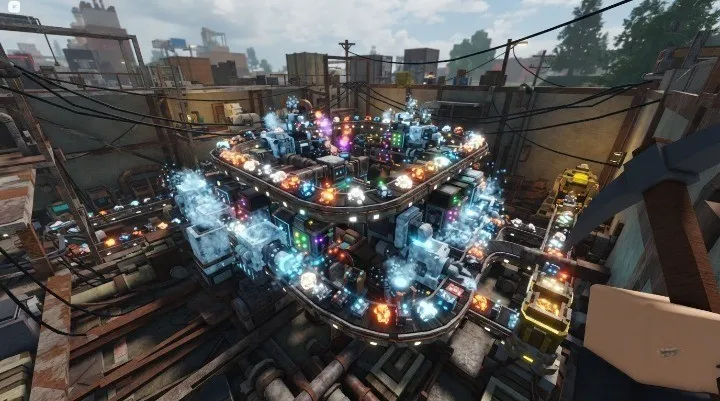
Mine → Freon-Blast Loop → Multiplier Upgraders → Furnace
The important part is knowing when the loop has finished improving the ore. Keeping an ore inside the loop after it has reached the upgrader’s limit only wastes time.
Use a controlled exit system so the ore leaves the loop once it is ready for the next stage.
6. Single-Line High-Speed Setup
A single-line setup uses a carefully selected group of powerful upgraders arranged in one efficient path.
The goal is not to use the largest number of items. Instead, focus on:
- High-value upgraders
- Small and efficient item sizes
- Minimal turns
- Fast conveyor movement
- Reliable ore alignment
- A short route to the furnace
Community setup guides often recommend removing redundant upgraders and reducing turns because ores lose time whenever they travel through unnecessary sections.
7. Teleporter-Based Setup
Teleporters can help connect separate parts of your base without requiring long conveyor paths or large turns.
A teleporter setup can be useful when:
- Your base is becoming crowded
- You want to separate different upgrader stages
- You need to avoid difficult conveyor turns
- You want to create a second processing lane
- You are building a looping system
A common structure is:
Mine → Upgrader Section → Teleporter → Second Upgrader Section → Furnace
Make sure the sender and receiver are correctly paired and that ores arrive at the next section in the correct direction.
8. Dual-Lane Setup
A dual-lane setup divides the processing line into two separate paths. Each lane can contain its own group of upgraders before the ores move to the next stage.
This design can save space and allow you to organize different upgrade stages more clearly.
For example:
- Lane One: early-value upgraders
- Lane Two: multiplier and special-effect upgraders
- Final Section: resetters, scanners or furnace
Dual-lane setups require careful placement because ores may change direction or become misaligned if the paths are not properly controlled.
9. Ore Gate Control Setup
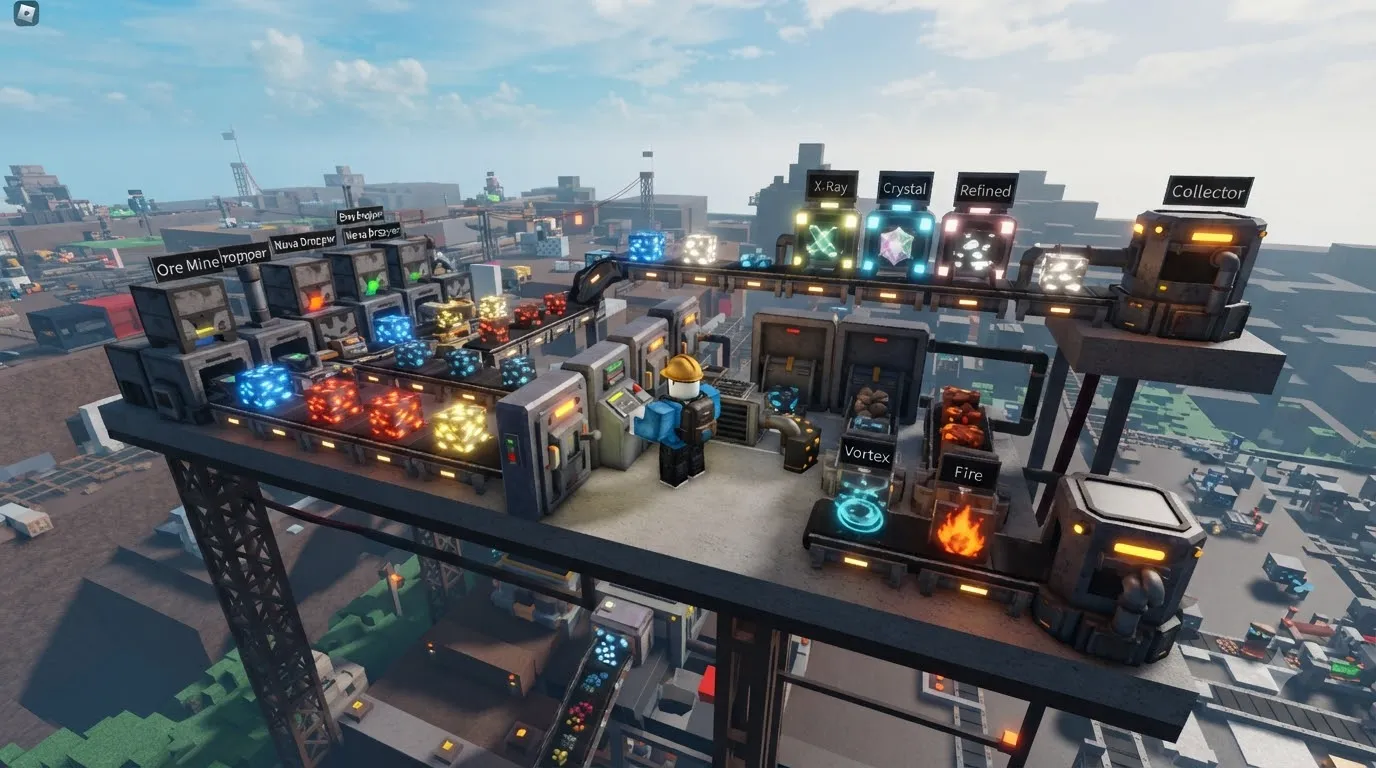
Ore gates are useful when you need to stop ores temporarily or control when they leave a loop.
You can use an ore gate to:
- Hold ores inside a loop
- Prevent unfinished ores from reaching the furnace
- Release ores after the upgrade cycle is complete
- Test different processing stages
- Separate setup testing from normal operation
This is especially useful for manual rebirth setups where you want to decide when the ores should exit the loop.
10. Reversible Conveyor Setup
A reversible conveyor can send ores in different directions depending on its current setting. This makes it useful for looping and controlled processing.
One direction can send ores through the upgrade path, while the opposite direction can send them toward the furnace.
This design is useful when you want to avoid rebuilding your entire setup every time you finish a loop. It also gives you more control over when ores leave the processing line.
11. Cannon and Platform Setup
Cannon-based setups launch ores through the air instead of moving them only along regular conveyors. Platforms and upgraders can be placed to match the ore’s flight path.
These setups can be fast, but they are more difficult to build correctly. The launch angle, platform position and upgrader height all matter.
When using a cannon setup:
- Test the launch distance first
- Use platforms to guide the ore
- Keep the ore’s path predictable
- Avoid placing upgraders too far from the landing point
- Test several ores before running the setup normally
Cannon setups are generally better suited to experienced players who already understand ore movement.
12. Railgun and Dragon Cannon Setups
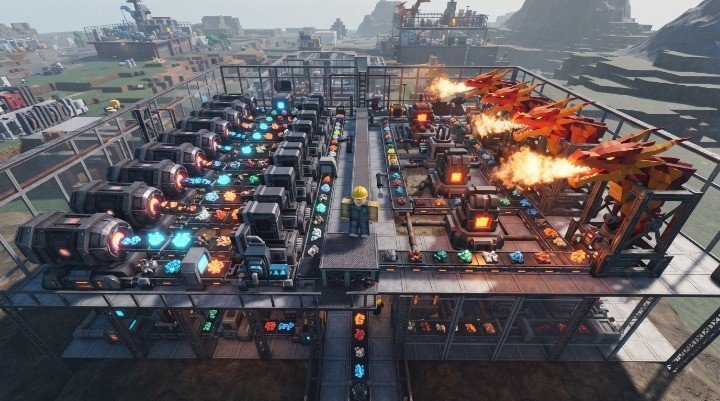
Railgun and Dragon Cannon setups use powerful launches to move ores quickly between processing stages. They can reduce the need for long conveyor paths, but they require accurate placement.
Railguns and Dragon Cannons do not necessarily follow the same trajectory. Their launch speed and arc can differ, so platforms must be positioned according to the specific cannon being used.
These setups are more advanced and should be tested carefully before being used for serious rebirth runs.
13. Furnace-Focused Setup
Your furnace is one of the most important parts of a Miner’s Haven setup. A powerful upgrader line is not useful if the furnace cannot handle the final ore value efficiently.
When improving your setup, compare:
- Furnace multiplier
- Ore value limit
- Processing time
- Furnace size
- Compatibility with your current ores
Always use the best furnace available to you, but make sure the rest of the setup can consistently deliver ores to it without getting stuck.
14. Early-Game Setup Priorities
During the early game, do not worry about creating a complicated end-game setup. Your main goal should be building a reliable production line.
Recommended priorities:
- Buy a better mine.
- Add basic upgraders.
- Improve conveyor placement.
- Purchase a stronger furnace.
- Remove unnecessary turns.
- Save useful items for future rebirths.
- Start experimenting with simple loops.
A clean and reliable setup is usually more valuable than a large base filled with random items.
15. Mid-Game Setup Priorities
In the mid-game, start focusing on efficiency instead of simply adding more items.
You should begin comparing:
- Multiplier per unit of space
- Conveyor speed
- Upgrader value
- Loop duration
- Ore travel distance
- Rebirth time
Some large upgraders may look powerful, but several smaller upgraders can sometimes provide better value while using less space.
16. Common Miner’s Haven Setup Mistakes
Avoid these common problems:
- Using too many weak upgraders
- Making the conveyor path unnecessarily long
- Adding too many sharp turns
- Forgetting to create an exit from a loop
- Using a weak furnace
- Allowing ores to become misaligned
- Building without testing
- Focusing only on ore value instead of total rebirth time
- Filling the base with decoration before the setup works
- Copying an advanced setup without owning the required items
17. How to Improve Your Existing Setup
If your current setup feels slow, improve it step by step instead of rebuilding everything immediately.
Start by checking:
- Where ores slow down
- Where ores get stuck
- Which upgraders provide the least value
- Whether the route contains unnecessary turns
- Whether your furnace is strong enough
- Whether the loop runs longer than necessary
- Whether teleporters could shorten the route
Make one change at a time and compare the result. This makes it easier to understand which upgrade actually improved your setup.
Final Thoughts
The best Miner’s Haven setup is not always the biggest or most complicated one. A strong setup uses the right upgraders in the right order, keeps ore movement reliable and avoids unnecessary travel time.